|
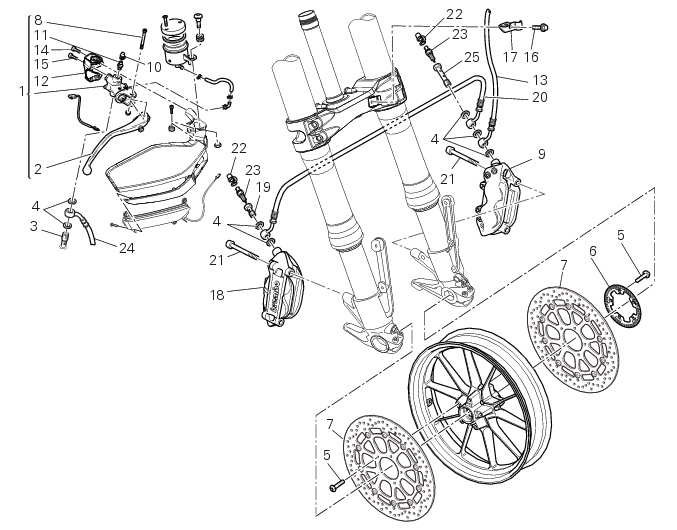
5
|
|
8
|
|
10
|
|
11
|
|
14
|
|
15
|
|
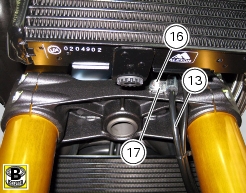
16
|
|
17
|
|
21
|
|
22
|
|
23
|